Flat Rate Shipping
 48hr Dispatch
Education
Education Series #1: Front Wrap Cross Carry
New care givers and parents are often introduced to baby carriers with the Front Wrap Cross Carry (FWCC) using a woven wrap, for a multitude of reasons. The FWCC is a relatively simple and straightforward carry to learn, and is able to be utilised in a variety of wrap lengths.It allows those new to carrying their baby, in a woven wrap or sling, to hone important skills such as tightening. There are variations on the carry that can facilitate shorter length wraps, or for additional support for when wearees get heavier. And best of all, it is a fantastic carry to use from birth right up to toddlerhood, and beyond!
The FWCC consists of three main steps:
1. Preparation prior to placing your baby in the carrier
The first step is to get your wrap in place, prior to putting your child in. Find the centre of the wrap, which is noted on Ankalia wraps with their signature birdie middle marker, centre the wrap on your chest, and bring the top edge (known as the rail) of the right side of the wrap over your opposite shoulder. Then, repeat this process with the left side of the wrap over your right shoulder. You will now have the wrap positioned over your torso and upper body, with a strap referred to as a tail, coming over each shoulder, and crossing on your back.
To finalise this preparation step prior to placing your baby in the carrier, pull own both tails to take out any slack within the wrap. This will make the tightening process quicker and easier once baby is in place.

Finding your middle marker

Both rails over your shoulders
2. Placing your baby in the wrap
The second step is when it’s time to pick up your baby. Placing your baby facing you and positioning on one of your shoulders, use one hand on baby’s bottom to secure them safely. Then, using your opposite hand, slide your hand under the the portion of the wrap around your waist.
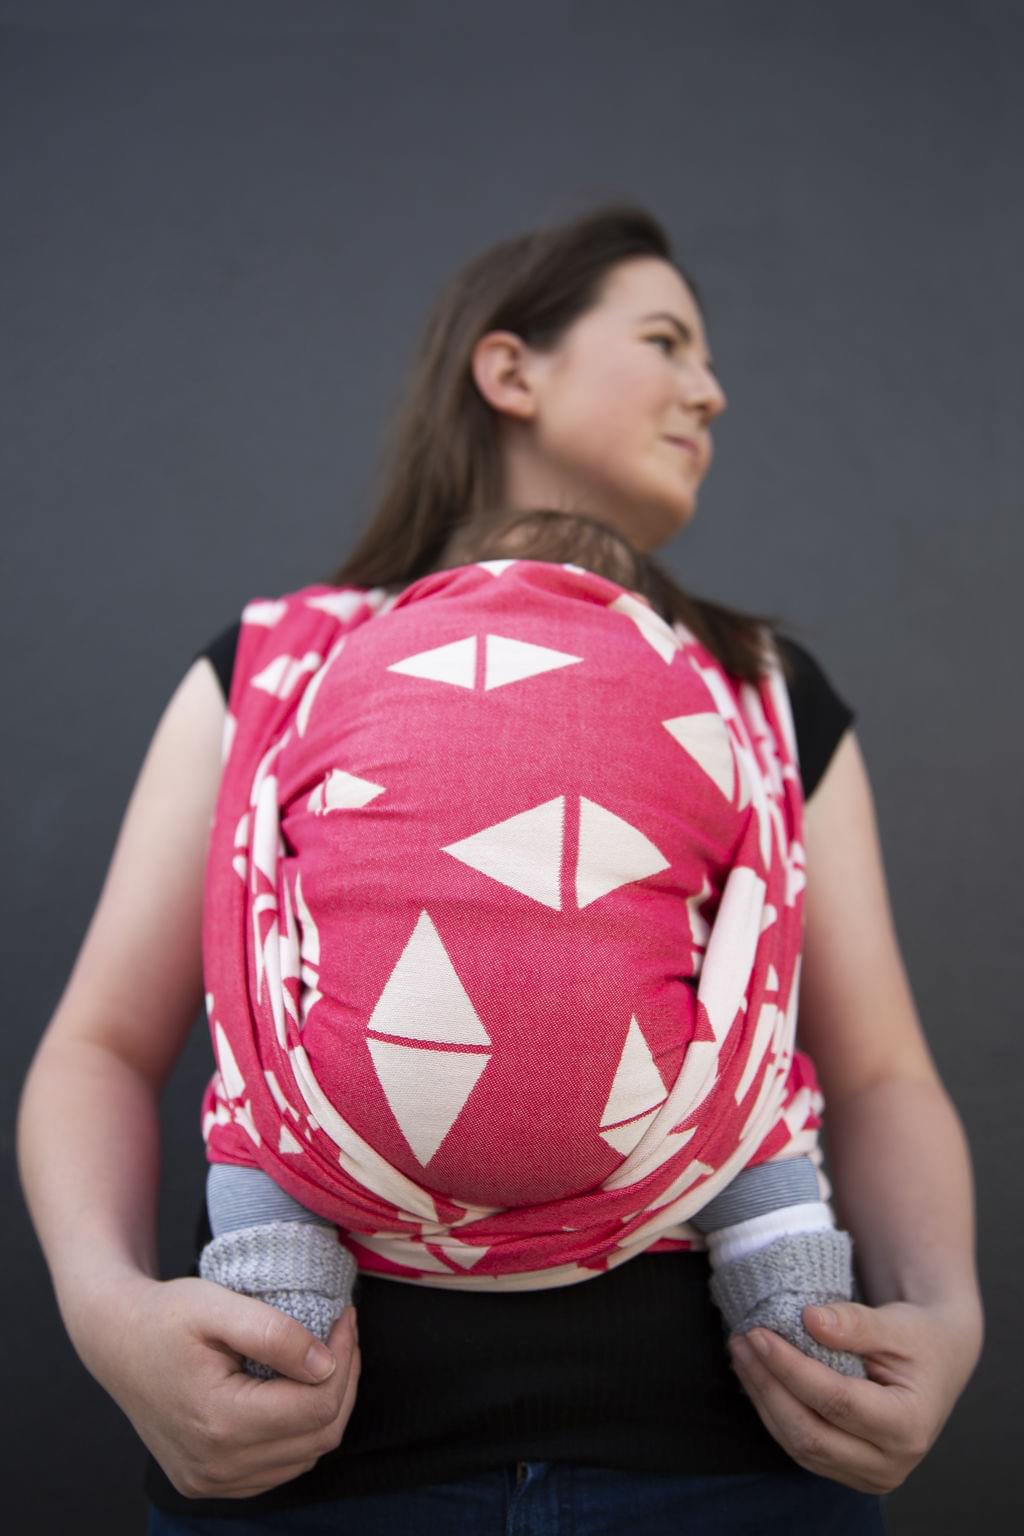
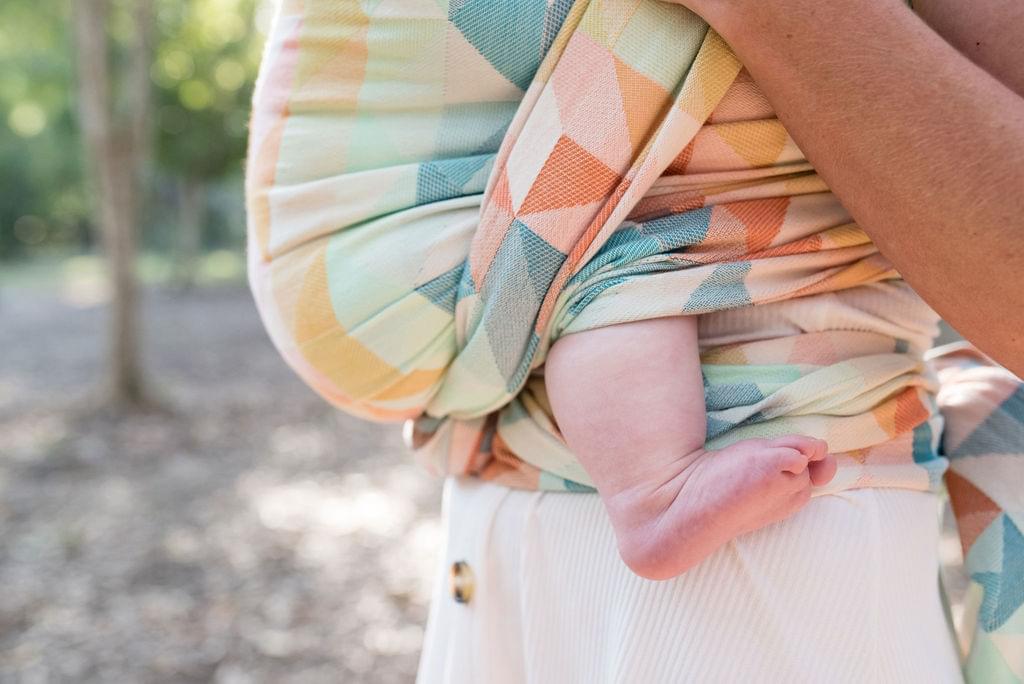
Guide your baby’s body downwards until their legs come through the bottom part of the wrap. Settle baby into position, ensuring the wrap is spread across baby’s body, reaching from their shoulders to their knees, with their legs spread comfortably around you. Ensure that you keep one hand on baby at ALL times as you’re securing them into the carrier.

Place your baby on your shoulder securely

Spread the wrap across baby's body and behind the knees
3. Tightening and tying off
The third step involves tightening the wrap securely around your body and baby, and finishing the carry by firmly tying it off in a double knot. To tighten the wrap around your baby, focus your pulling on the top rail as snugly as possible. Then, tighten more sections along the wrap heading towards the bottom rail, and pull tightly until your baby feels secured in the wrap. Concentrate on the top, middle, and bottom sections of the rail during this process.
Once your wrap is well tightened, you can then pull on both tails at once in an upwards ‘Y’ direction to remove any additional slack in the carry. Then, in preparation to tie off the carry, bring the tails downwards on either side of your baby’s body and cross the tails under your baby’s bottom. Bring the crossed tails under your baby’s legs, and behind your body.
To complete the FWCC, simply tie off securely in a double knot at your back! Your baby will now be securely attached to your body, visible so you can monitor baby’s airways and positioning, and best of all - positioned close enough to you to be kissable!

Tighten the top, middle, and bottom parts of the rail separately
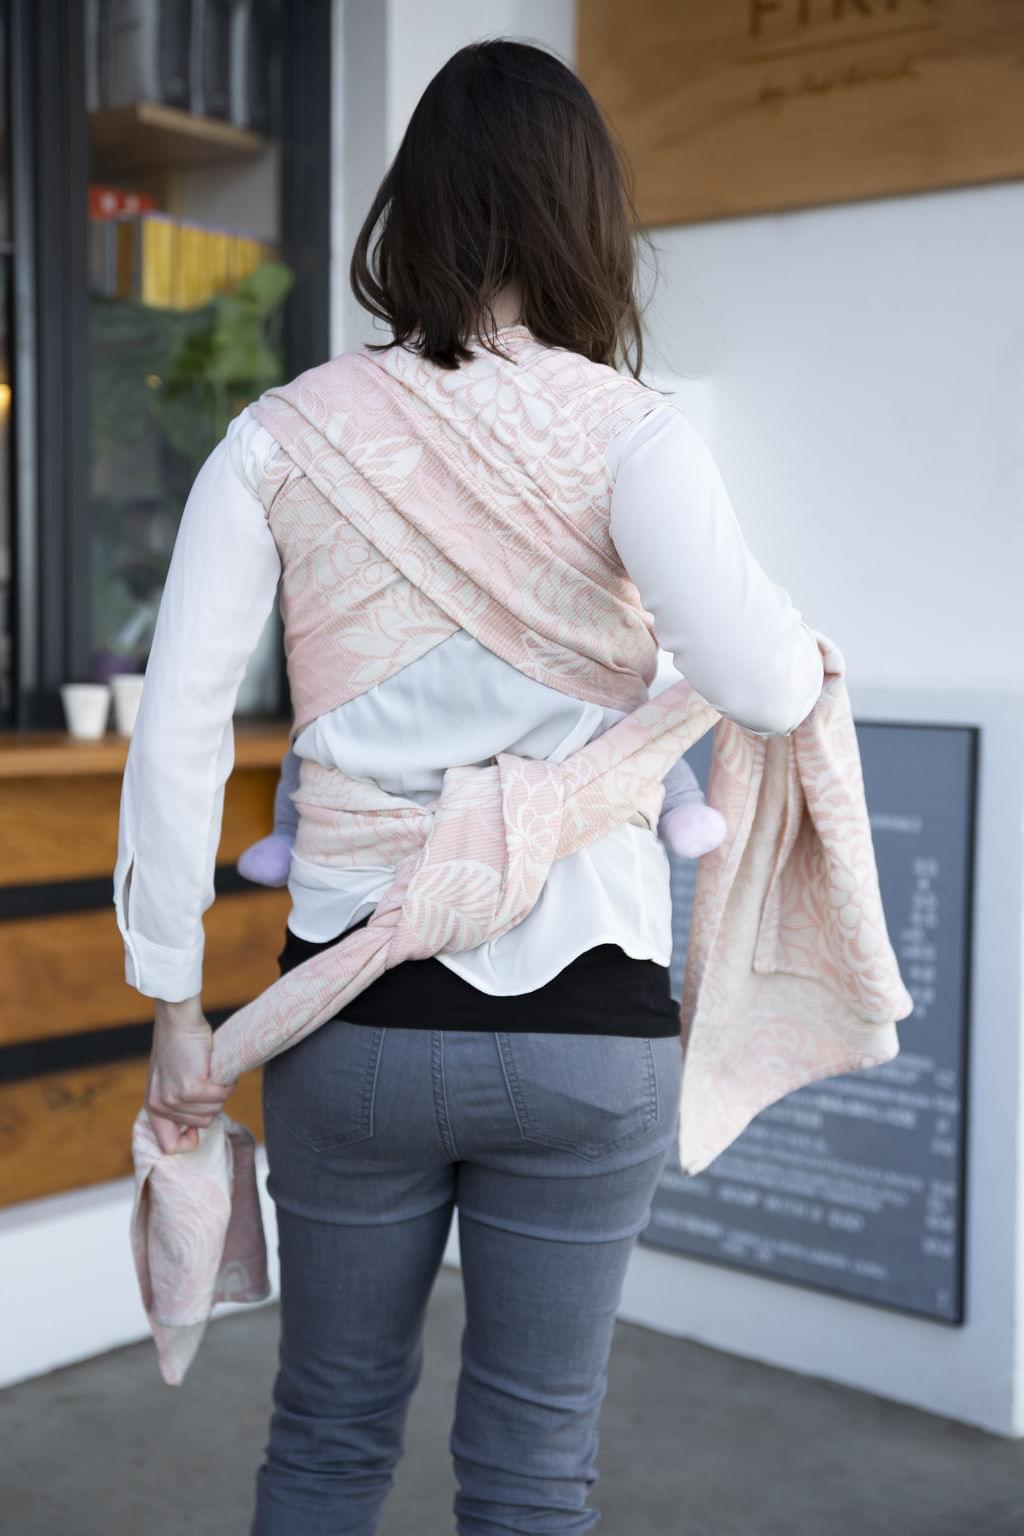
Tie securely at your back in a double knot

Spreading one pass can secure a sleeping baby's head

And that’s the FWCC in a nutshell! The FWCC is recommended for a base size, -1 base size, and a base +1 size wrap. For more info on base sizing, please read an article in one of our previous journal issues, ‘All About The Base (Size Wrap)’.
If you have more length in your wrap, at the final step prior to tying off, you can cross the tails at your back and bring them around to the front to tie off. For shorter wrap variations of the FWCC, you could check out carries such as FWCC tied under bottom (TUB), Half FWCC, or Semi FWCC.
The FWCC is versatile for younger babies...

... and older ones too!

Here’s a quick demonstration video of FWCC:
To see more tutorial pictures for a Front Wrap Cross Carry, head to Ankalia’s page on ‘My Carrier’ and scroll across to view each picture!
For further discussion on the wonders of using front carries to wear your baby, check out this previous article in our journal ‘Embrace The Front Carry’.
We hope this article broadens your education and understanding of the FWCC. Keep an eye out for further education articles in this series in future journal articles, for a more in-depth look at different types of wrap carries!

Ankalia respects Aboriginal and Torres Strait Islander people and cultures. We acknowledge past, present and future Traditional Owners of the land that we work on.
DISCLAIMER
Ankalia’s online journal is written and edited by white Australian women. As such, our articles are written from our cultural standpoint.
To understand and improve our knowledge of the practice of babywearing across a varied dynamic, we may seek input from our friends and peers who identify as belonging to culturally and linguistically diverse groups, and groups who are marginalised within our society.
We aim to be insightful, meaningful and respectful of those who identify as belonging to these groups at all times. If we publish something that you feel is inappropriate or offensive, please bring it to our attention promptly. We are still learning and are mindful of our privilege.